Dimension and shape control with machine vision
Precision in every dimension
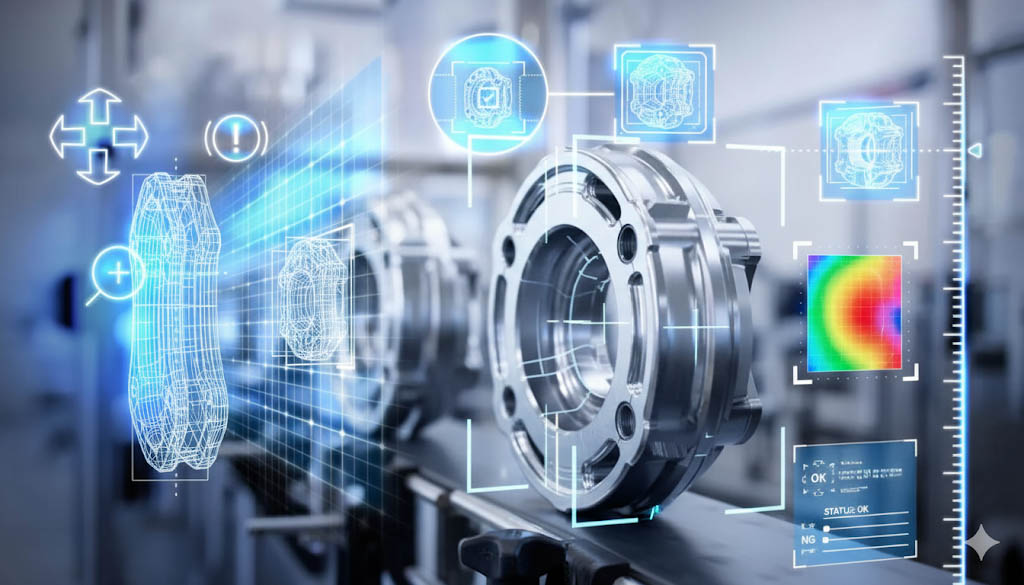
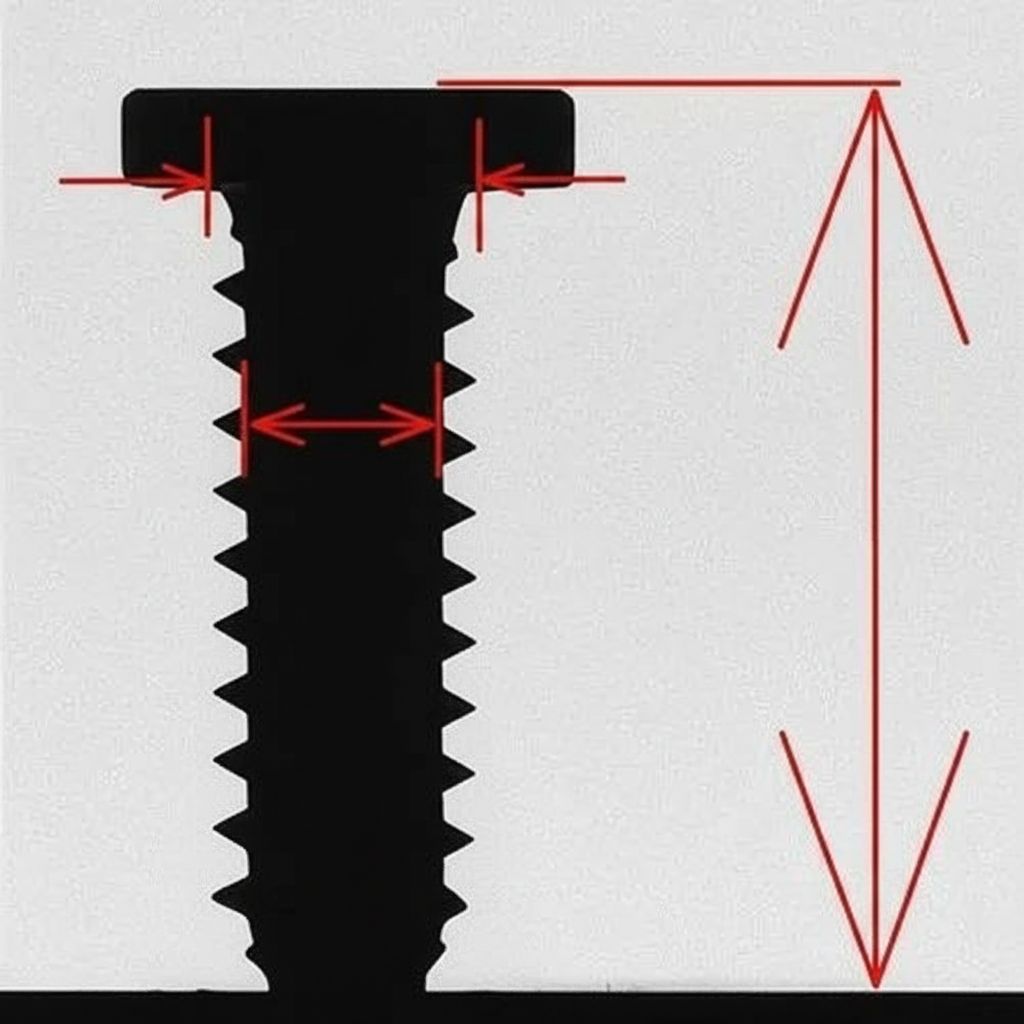
Checking dimensions and shapes is one of the central tasks of industrial image processing. With machine vision, even the smallest deviations in length, width, height or geometry can be reliably detected - faster and more accurately than with manual methods.
Automated systems continuously record all relevant characteristics and thus ensure consistently high quality. This reduces waste, stabilizes processes and ensures compliance with norms and standards in the long term.
Get in touch with usWhy size and shape control is important
Ensuring product quality: Only products with exact dimensions and shapes meet the required quality standards. Even small deviations can lead to components no longer fitting, packaging leaking or tablets being unevenly dosed. Dimensional and shape control ensures that every part meets the requirements and that defective products are detected at an early stage.
Compliance with standards and regulations: Strict standards and regulatory requirements apply in industries such as pharmaceuticals and food. Deviations from defined sizes or geometries can not only jeopardize safety, but also have legal consequences. Precise image processing helps to reliably comply with these standards and document them seamlessly.
Efficiency and cost reduction: The automated inspection identifies sources of error early in the process, which reduces rework or rejects. At the same time, the inspection runs in real time and without interrupting production, which increases efficiency. As a result, companies benefit from lower production costs and stable process reliability.
Challenges in dimension and shape control
The implementation of reliable dimension and shape control is challenging. Different materials, production speeds and environmental conditions place special demands on the systems used. Typical challenges are
High speed
Modern production lines often produce hundreds or even thousands of parts per minute. Image processing must cover this speed without losing accuracy.
Low tolerances
Even the smallest deviations can impair functionality or safety. The systems must therefore measure with the highest precision and reliably detect even minimal differences.
Surface finish
Transparent, reflective or flexible materials such as glass, plastic or film make it difficult to capture images. Specialized lighting and optics are required here.
Suitable machine vision technologies
Maximum precision is required for dimensional and shape control. Machine vision systems must be able to measure reliably in the micrometer range and be robust against changing conditions. The following technologies have proven particularly effective:
Get in touch with us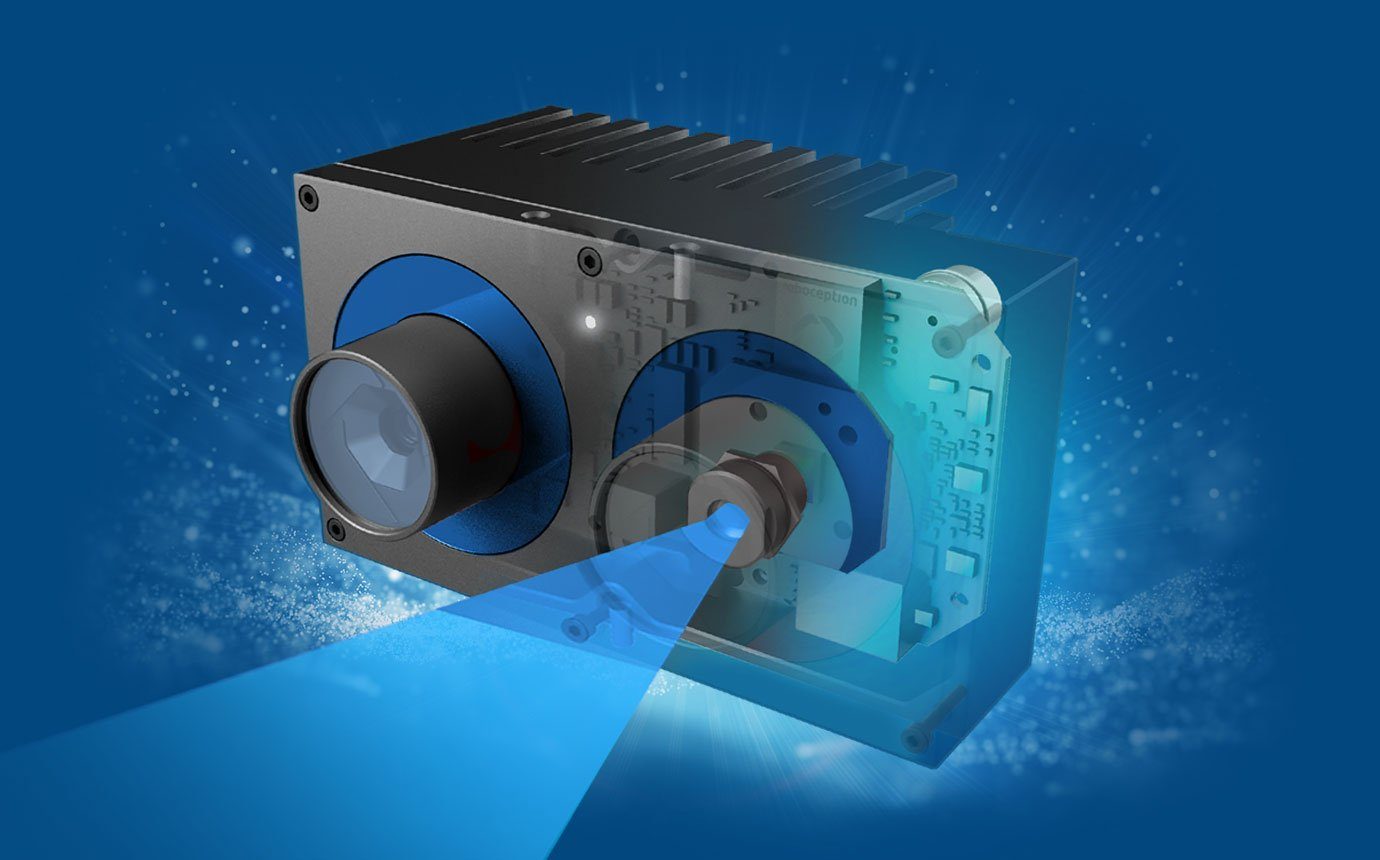
High-resolution 2D cameras
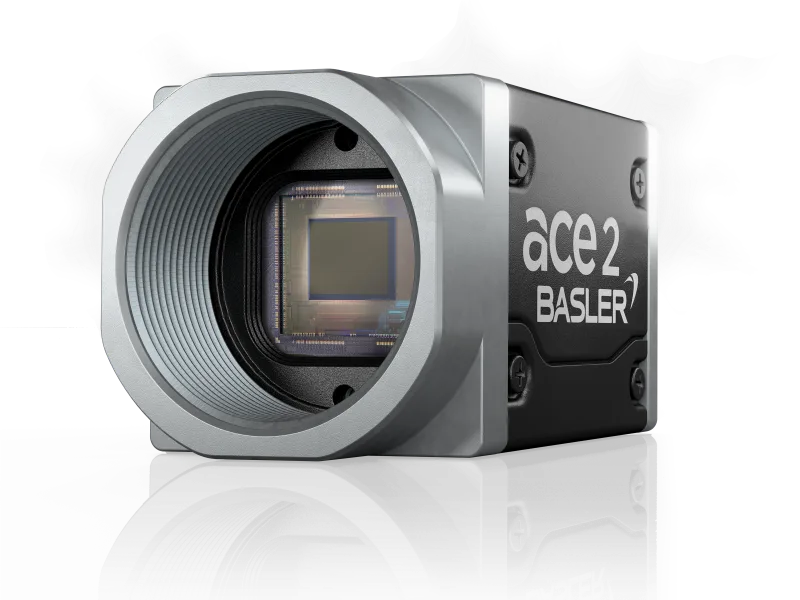
Cameras with high resolution are indispensable for exact measurements in the plane. They enable the precise detection of the smallest structures and form the basis for reliable dimensional checks.
- Frame rate: up to several hundred fps for fast production lines
- Typical interfaces: GigE Vision, USB3 Vision, Camera Link
- Resolution: from 5 to over 20 megapixels, depending on accuracy requirements
- Frequently used models: Basler ace, Basler boost (CoaXPress for high-speed)
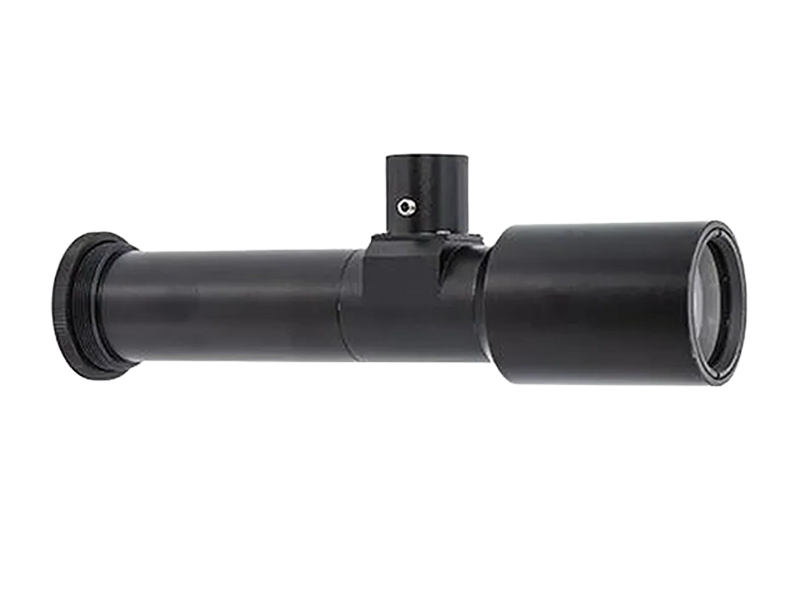
Telecentric optics
In combination with 2D cameras, telecentric lenses ensure distortion-free images - regardless of the object's position. This allows lengths, angles and distances to be determined precisely without the perspective distorting the results.
- No perspective size effect, even with variable object position
- Image field sizes from a few millimeters to several centimeters
- High depth of field for stable measurements
- Particularly suitable for inline measurements with tight tolerances
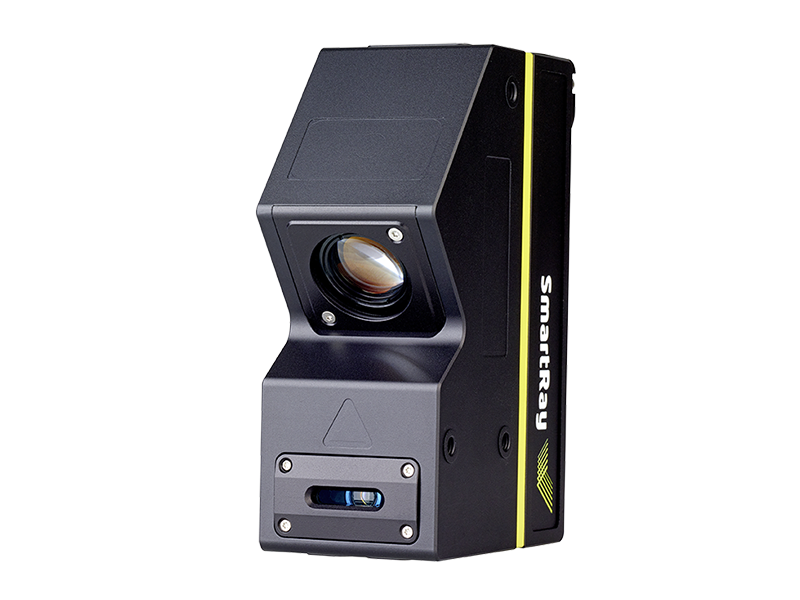
3D cameras with laser triangulation or fringe projection
3D systems are the right choice for analyzing height profiles, contours or complex geometries. They detect deviations in depth and shape that remain hidden in 2D images and thus supplement the possibilities of classic dimensional inspection
- Technologies: laser triangulation, stripe light projection, time-of-flight
- Measuring accuracy: in the range of a few micrometers to submillimeters
- Typical fields of application: Component contours, blister molds, injection molded parts
- Interfaces: GigE Vision, CoaXPress, partly proprietary 3D APIs
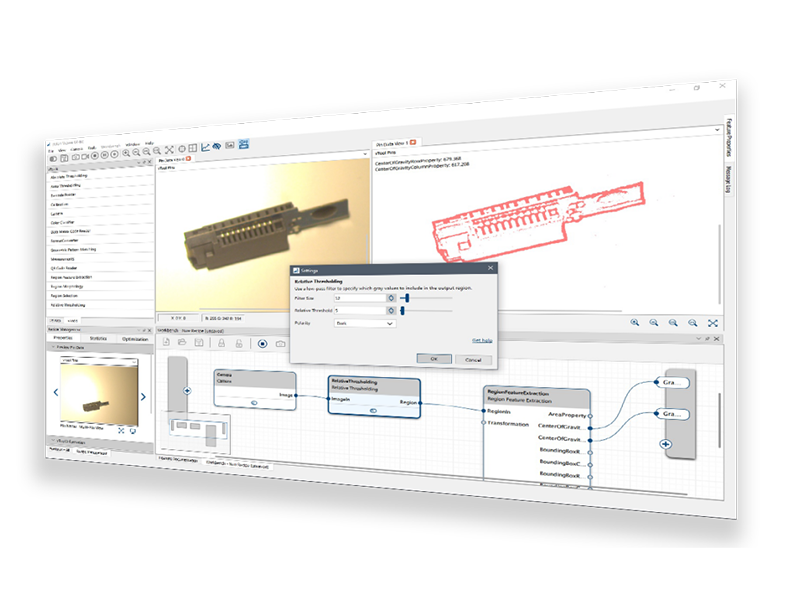
Specialized image processing software
Powerful software solutions - from classic measurement algorithms to modern deep learning approaches - enable the reliable evaluation of image data. They compare the measured values in real time with defined tolerances and ensure seamless integration into higher-level systems.
- Standard software: Cognex VisionPro, MVTec Halcon
- Deep learning tools: Cognex ViDi, Retina Deep Learning Solution
- Functions: Edge detection, circle detection, CAD comparison, tolerance analysis
- Integration: direct connection to PLC, MES or ERP systems

The CHROMOS way to the optimum solution
Requirements analysis and feasibility test
We analyze the specific requirements of your products - from tolerances and cycle times to ambient conditions - and carry out preliminary tests to determine whether 2D or 3D measurements offer the greatest benefit.
Component selection and test set-up
Cameras, optics, lighting and software are optimally combined. We simulate the test process in test setups and ensure that the results remain stable even with changing products.
Integration into existing processes
Our systems can be seamlessly integrated into production lines. Results are transmitted directly to PLCs, databases or process control systems and can be used for documentation and traceability.
Support during operation and changes
We provide support for product changes, process optimizations and ongoing operation - with local service, support and training for your team.
Contact us
Our experts will be happy to help you. Get in touch with us!