Surface inspection with machine vision
Reliably detect scratches, cracks or inclusions - inline, reproducible and material-independent.
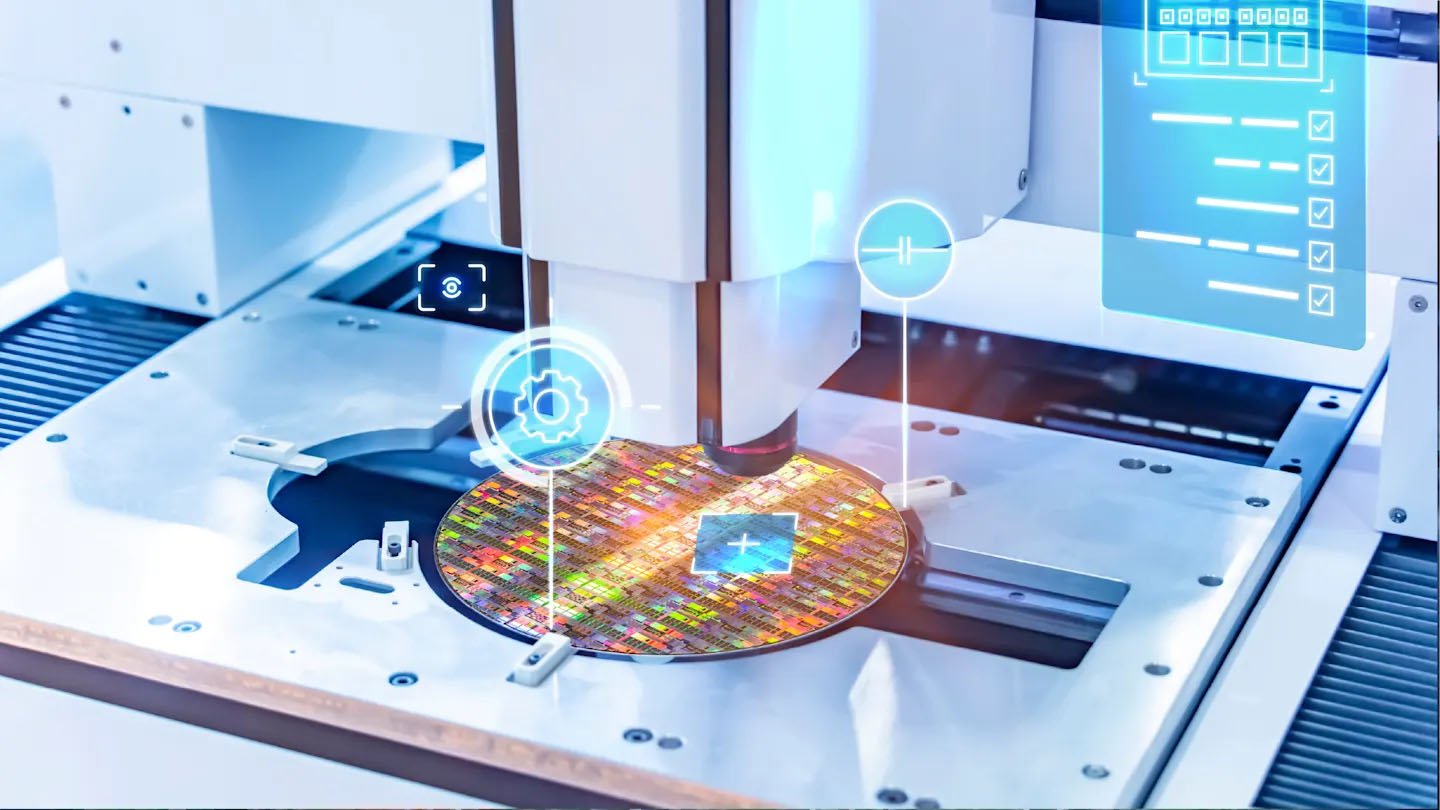
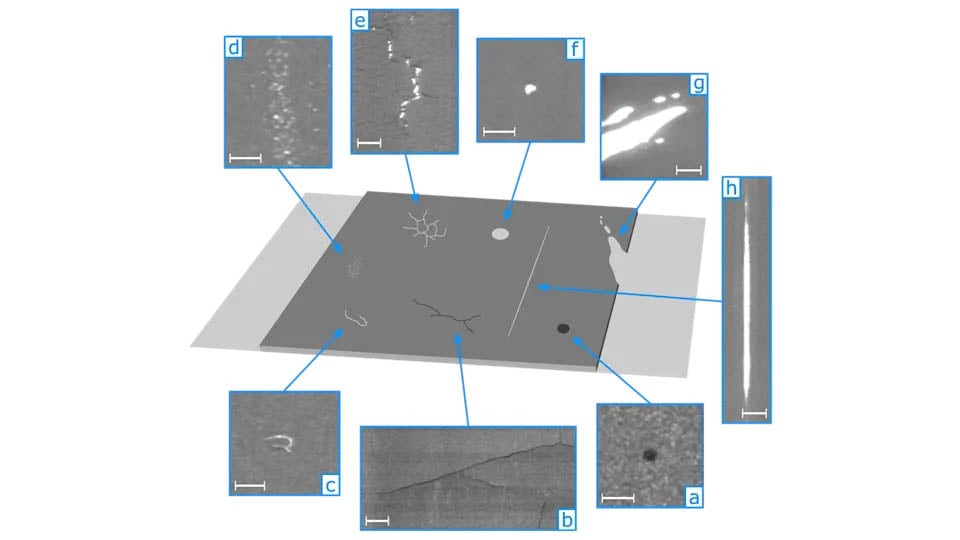
The visual inspection of surfaces is a central component of industrial quality control. Whether painted components, plastic housings, foils or metal profiles - even the smallest defects such as scratches, cracks or inclusions can lead to rejects, customer complaints or safety risks. Manual visual inspections quickly reach their limits - especially with high cycle rates, changing materials or subjective evaluation standards.
Modern image processing systems enable reliable, reproducible and inline-capable surface inspection - regardless of material, shape or surface type.
Why the automated inspection of surfaces is important
Enable objective quality assessment
Surface defects such as scratches, scoring or inclusions can be detected reproducibly and independently of subjective assessments using image processing systems - even with changing batches or materials.
Increase process reliability through inline inspection
Automated surface inspection takes place directly in the production flow and makes defects visible at an early stage. This significantly reduces rejects, rework and complaints.
Technically replacing manual inspection processes
Automated inspection is superior to conventional visual inspections, particularly for high cycle rates and complex geometries - in terms of repeat accuracy, stability and documentability.

Challenges in surface inspection
The marking of batch and serial numbers places high demands on precision and production reliability. In particular, integration into existing processes and the avoidance of misprints are crucial for reliable traceability.
Changing materials and surface textures
Depending on the material - whether glossy, matt, translucent or structured - reflections, contrasts and defect images change. This requires adaptable lighting concepts and robust image evaluation.
Combination of shape and position
Surface defects often occur on curved, edged or irregular surfaces. In order to detect these reliably, the camera alignment, depth of field and perspective must be precisely coordinated.
Error definition and evaluation limits
Many surface features are difficult to classify visually (e.g. scratches vs. dirt particles). For automated assessment, defect categories must be clearly defined and translated into comprehensible decision logic - for example through rule-based or AI-supported evaluation.
Technologies used
Depending on the surface, material and type of defect, a combination of different technologies is used. Not only the choice of camera is crucial for reliable testing, but also the interplay of lighting, image evaluation and mechanical integration.
Get in touch with us

Industrial camera
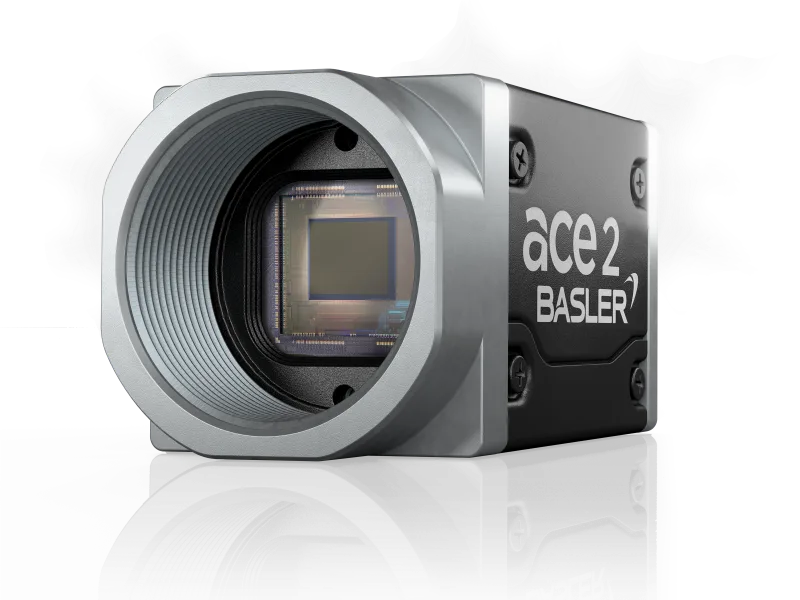
Industrial cameras provide the image data basis for surface inspection. Depending on the defect size, material surface and cycle time, different sensor resolutions, shutter types and interfaces are used. The selection is application-specific - with a focus on detection accuracy, stability and integration capability.
- High resolution for detecting the smallest defects
- Global shutter for distortion-free images of moving test parts
- Selection depending on interface (GigE, USB3, CoaXPress) and sensor format
- monochrome for structural defects, color for color-related features

Objective
The lens has a decisive influence on how clearly surface defects are visible in the image. Image quality, depth of field and image detail depend directly on the lens - it must be an exact match for the camera, test geometry and defect size.
- Focal length and field of view depend on component size and distance
- Resolution of the optics must match the sensor resolution of the camera
- Depending on the application, standard, macro or telecentric lenses are used

Lighting
Without controlled lighting, many surface defects cannot be reliably detected. Lighting creates the necessary contrast and must be adapted to the material properties, type of defect and geometry
- Grazing light vividly highlights fine scratches, grooves or unevenness
- Coaxial or dome lighting reduces reflections on glossy or textured surfaces
- Wavelength, angle of incidence and homogeneity have a significant influence on defect detection

Image processing software & AI
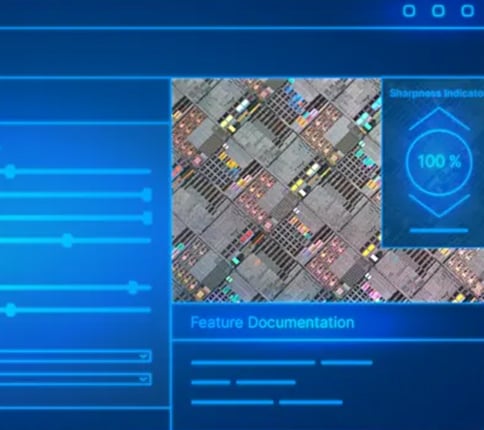
The software evaluates the image data, controls the decision logic and transmits inspection results to the line control system. In addition to classic rule-based methods, deep learning models can also be integrated - especially for visually complex or difficult to define defect images.
- Definition of defect classes, inspection characteristics and tolerance values
- Real-time evaluation with rule-based logic or neural networks
- Connection to PLC, quality data acquisition or HMI systems

The CHROMOS way to the optimum solution
Requirements analysis and feasibility test
Every surface presents specific challenges - depending on the material, color, structure and defect pattern. We analyze your test parts and define the technical requirements together with you.
Component selection and test setup
Based on the task at hand, we assemble the camera, optics, lighting and software precisely. We test the detection capability under real conditions in feasibility studies and laboratory setups.
Integration into existing processes
Image processing is seamlessly integrated into your line - whether in continuous processes, at manual stations or robot-supported. Inspection decisions can be transferred directly to PLCs or control systems.
Support during operation and changes
We are also at your side after commissioning - with adjustments for product changes, optimizations during operation or support for evaluation and data connection.
Contact us
Our experts will be happy to help you. Get in touch with us!